Metal processing and production

Our NELA inspection and sorting systems are pioneering in the monitoring of manufactured products. They offer specialised inspection solutions for a wide range of applications, from dimensional inspection to detailed defect detection. These systems set the highest quality standards by inspecting surfaces and detecting defects such as scoring, rust, impact marks and edge integrity.
Quality monitoring for turned parts and fasteners
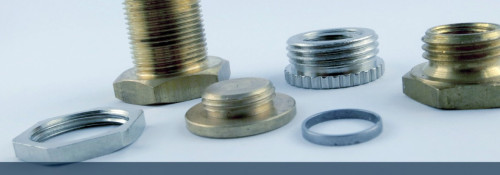
Our NELA inspection and sorting systems set new standards in metal processing. We offer specialised inspection solutions for a wide range of applications, from surface inspection to detailed defect detection. These systems inspect finished products made from materials such as stainless steel, steel, aluminium and more. They detect defects such as scoring, impact marks or oxidation. We offer detailed inspections specifically for fasteners and formed parts.
Precise inspection for sintered parts and fineblanked parts
Our inspection solutions detect topological damage and abrasive residue on sintered parts. For stamped and fineblanked parts, we offer precise geometry and dimensional accuracy inspection as well as reliable flatness inspection for sheet metal products to ensure consistently high quality.
Materials (selection):
- Stainless steel
- Steel
- Brass
- Aluminum
- Bronze
- Copper
- Plastics
- Precious metals
- Special materials
Surface characteristics:
- Matte – shiny (or even reflective)
- Coated – uncoated
- Treated – not treated
Defect types:
- Grooves
- Damage spots
- Roughness
- Rust
- Intactness/integrity of edges
- Chipping marks
- Chatter marks
Our sales team will be happy to advise you - just ask us!
sales [at] nela.de (Contact us now)
Dimensional and surface inspection methods
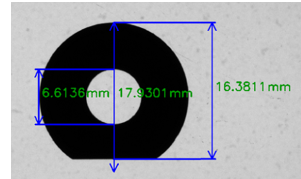
Inspection of all visible geometrical characteristics such as, for example, inner and outer diameter.
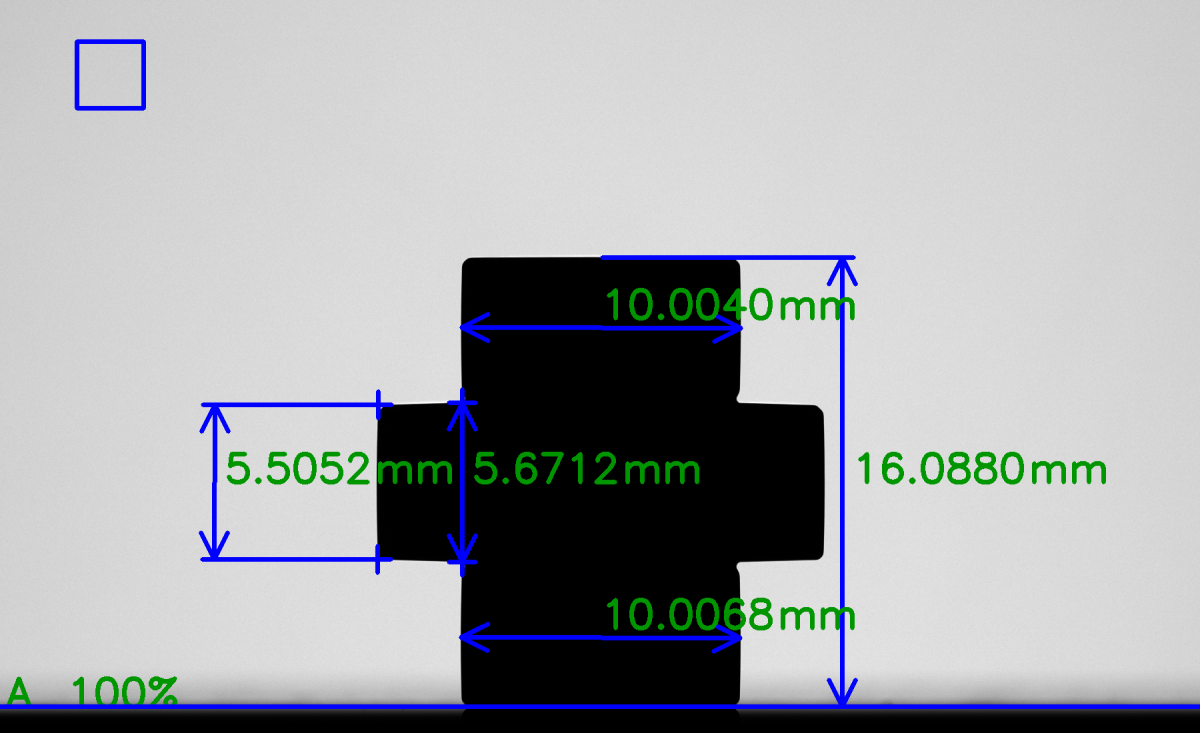
Measurement on up to 4 projection points to guarantee highly precise measurement results with tight tolerances. For instance, inclined upper edges can be detected with this method.
Inspection of all surfaces on top and bottom side as well as all lateral surfaces of the parts to detect previously defined defects (defect catalogue). Different sensors with appropriate optical and illuminative components will be used to achieve the best possible contrast.
Example: Defect evaluation TOPside sensor with reflected light
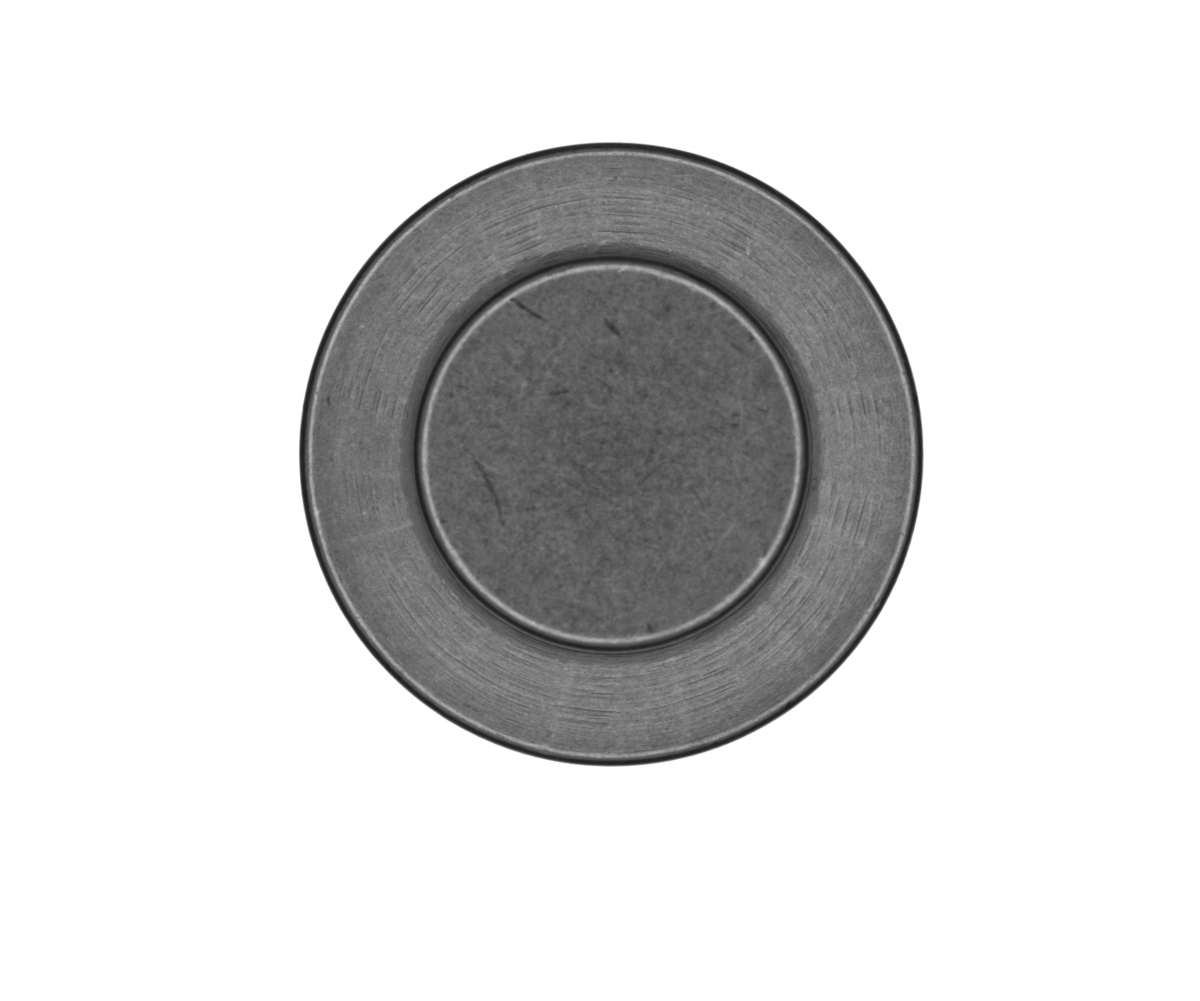
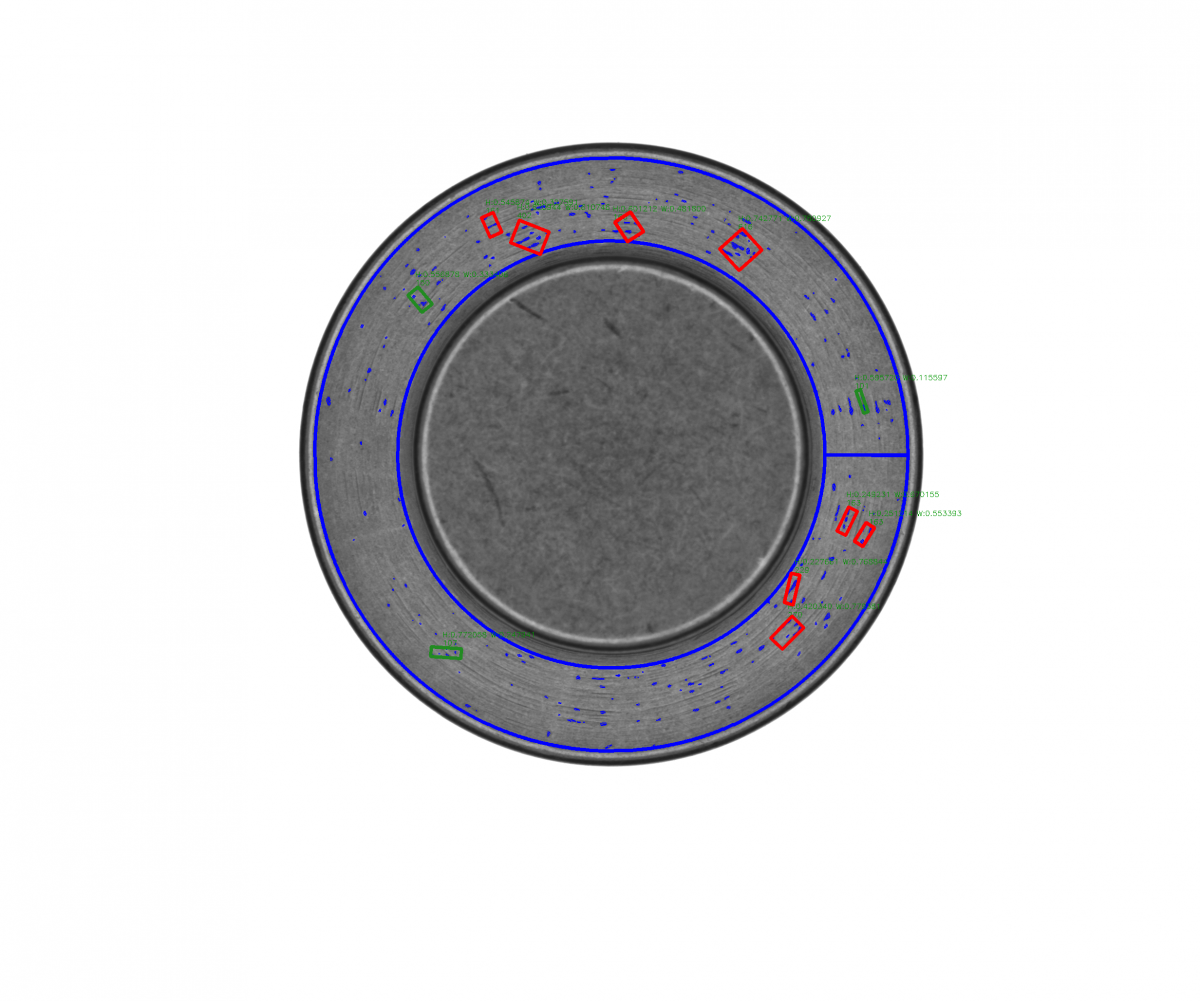
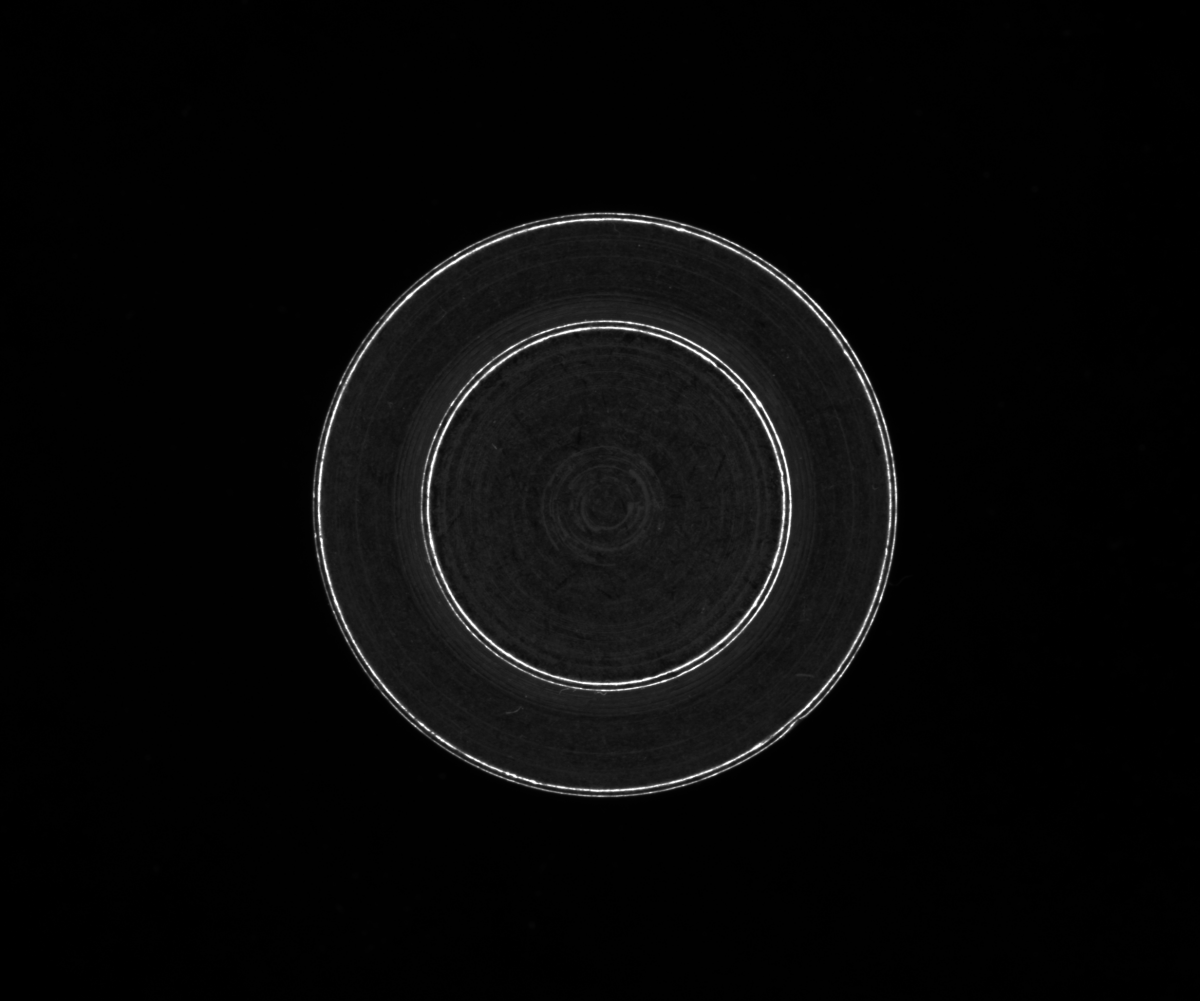
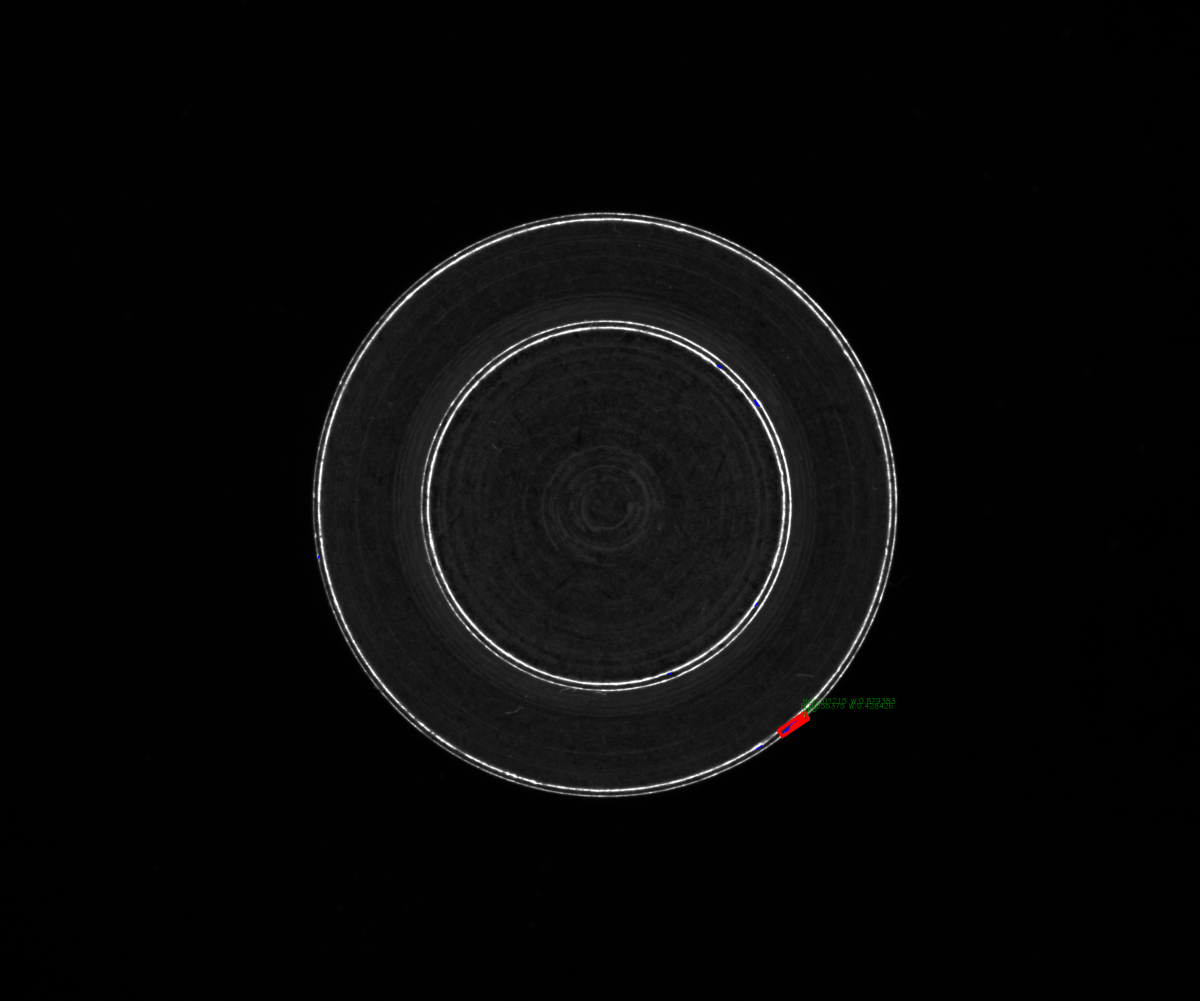
Various illumination types can be applied to enhance visibility of certain surface defects.
Example: Darkfield illumination for detection of damaged edge
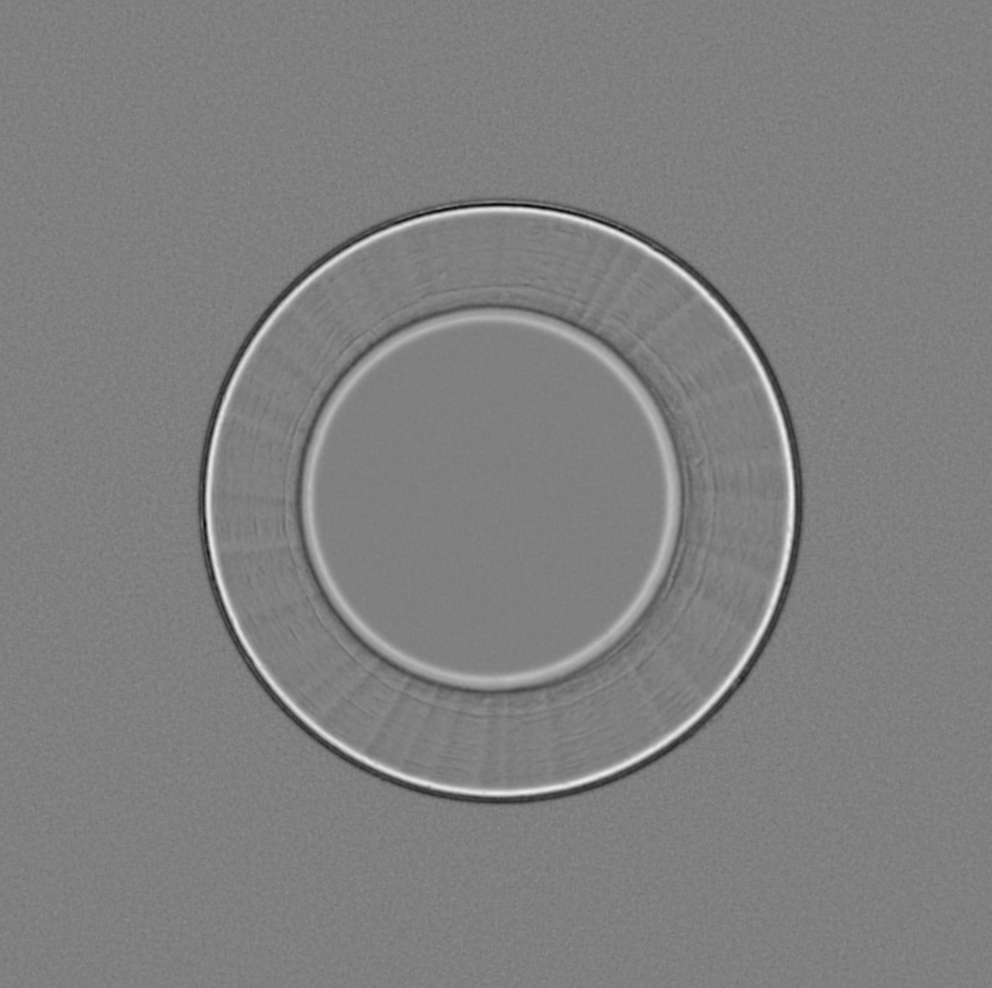
Shape from shading is a drift and curvature measuring 3D-method which can be used for shiny or inhomogeneous surfaces. In the example below, chatter marks are made visible with shape from shading technology.
To detect defects in material or microstructure of conductive parts it makes perfect sense to use an eddy current inspection device. Eddy current will recognize a multitude of unwanted surface conditions and defects, such as fissures, dents, nitrided case thickness, or foreign material inclusions. It is further employed to identify hardened or tempered parts and sort out parts that are not hardened or insufficiently tempered. By inspecting the part’s microstructure one can also identify different alloys and distinguish between half-finished and finished products.
The eddy current inspection can be integrated fully into any NELA inspection system, without compromising productivity. The results of the eddy current inspection are transferred automatically to our VisionCheck image processing software and are also included into the statistical analysis of the inspection.
Renowned manufacturers of eddy current systems, such as Rohmann GmbH, are our partners.
