Plastics, elastomer & silicone technology

Dimensional inspection for surface defects on serial parts made of elastomer, plastic or silicone can be easily and reliably automated with NELA's optical inspection and sorting systems. Depending on the shape, size, material properties and inspection requirements, we offer a customised solution, e.g. for precision moulded parts, shaft seals, plugs and much more. Inspection in accordance with DIN ISO 3601-3 is possible for O-rings.
Quality monitoring for elastomer, plastic or silicone parts
During automatic optical inspection, your products are checked for dimensional accuracy and surface irregularities or defects in a single pass. Depending on the application, glass disc and conveyor-based inspection platforms are available, if required also combined with robot handling or other special machine concepts.
In combination with the NELA VisionCheck image processing software, extremely powerful and efficient inspection cells are created for a 100% inspection of your components.
Parting line - making the invisible visible
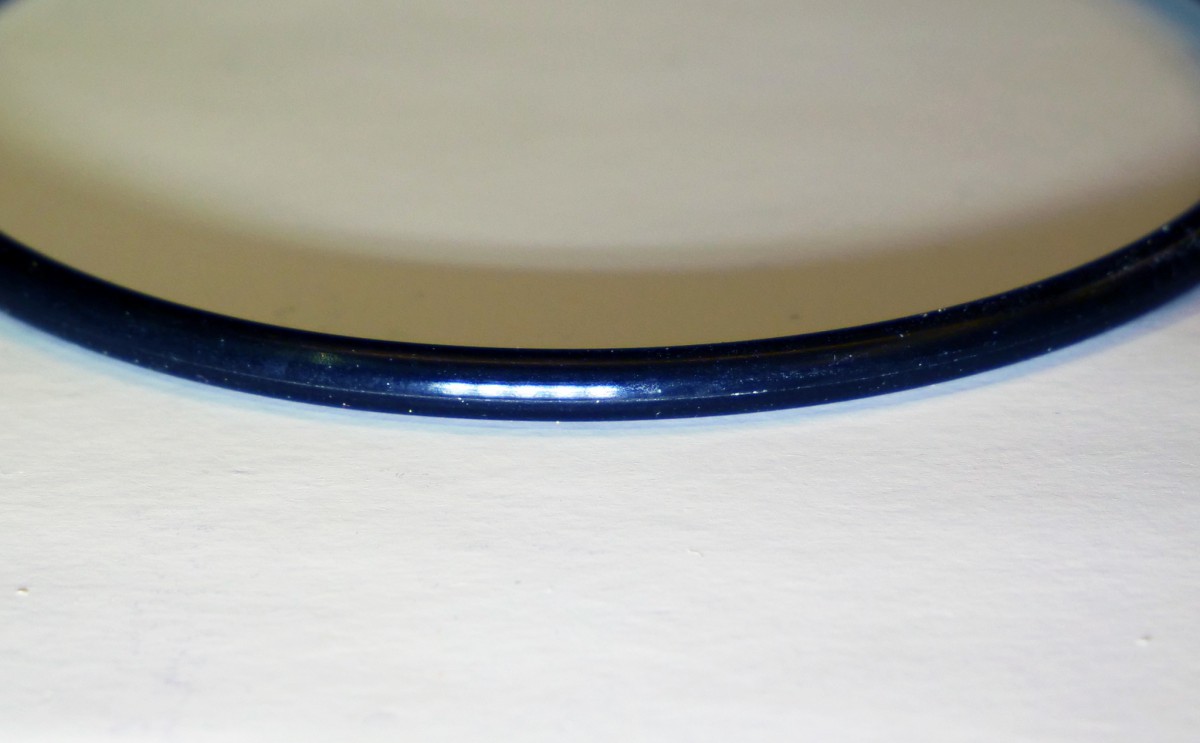
When it comes to the visual inspection of O-rings, the parting line on inside and outside diameter plays an important role. It is the area of the O-ring where many defects such as flash, indentation or roughened spots occur. Such defects are caused by production processes like mould separation, damaged moulds, or trimming and may cause faulty operation of an entire sub-assembly if they go undetected.
For a 100% inspection with minimal pseudo waste it is very important that the area around the parting line is perfectly illuminated to enable optical sensors to detect anomalies in the surface. O-rings, however, tend to have a very smooth surface which shines and reflects under direct light, making it difficult if not impossible to see defects in the relevant areas.
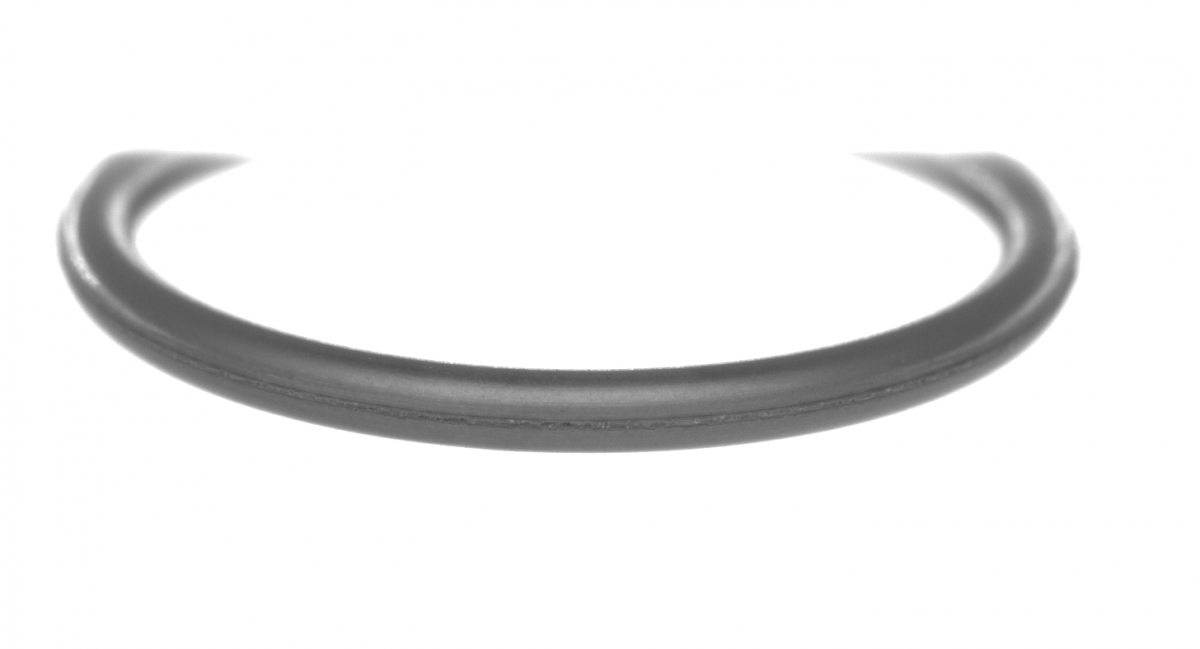
NELA has developed a new sensor specifically for O-ring applications which provides perfect illumination and, therefore, a highly improved detection of surface anomalies. The new multi-level illumination prevents reflections to the greatest possible extent. It creates a homogeneously illuminated surface which is ideal for the detection of defects. Anomalies such as indentations, projections or non-fills are easy to find, invisible defects become visible.
O-rings can be inspected in accordance with industrial standards, including but not limited to ISO 3601-3.


Parting line example: reflecting O-ring (left) and O-ring under new NELA sensor (right)
Materials:
- Elastomere
- Plastics
- Silicone materials
Defect types (selection):
- Inside and outside diameter
- Cross-section diameter
- Mismatch, off-register
- Flash
- Indentations
- Flow lines, cracks
- Foreign material
Our sales team will be happy to advise you - just ask us!
sales [at] nela.de (Contact us now)
Dimensional and surface inspection methods
Inspection of all visible geometric features such as outer and inner diameter.

Inspection of visible geometric features such as height, degree of deformation (elastomers) or protruding material.

Inspection of all surfaces on the end faces and lateral surfaces for previously defined defects (defect catalogue). Different sensors with corresponding optics and lighting combinations are used here to achieve the best possible contrast.

Different lighting is used to optimally recognise specific surface defects.

Example: Homogeneous illumination of the parting line of an O-ring