Double height measurement for total quality control

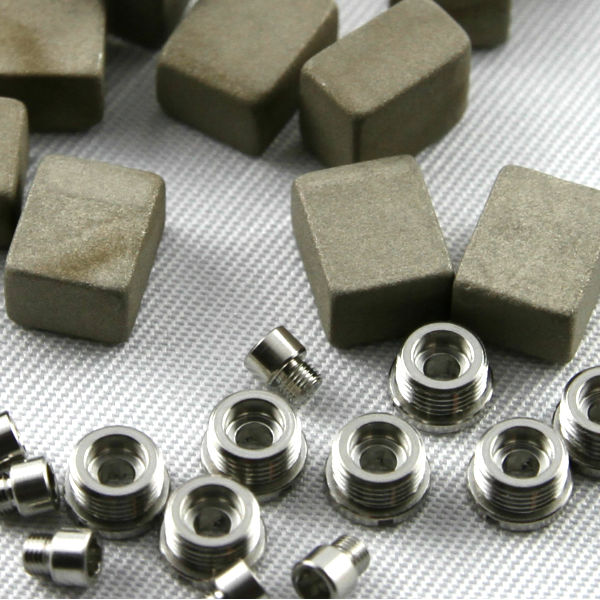
Rising quality standards for precision parts are creating new challenges for the fully automated optical quality control, especially when it comes to height measurement. When tolerances for shape, dimension and orientation are extremely tight, then a simple height measurement with the classical transmitted light method might not be good enough to guarantee the required quality.
Constantly aiming to fulfill such high demands, NELA has developed the concept of double height measurement. This concept is based on two height measurement sensors that are installed cross-wise in such a way that each part is viewed from two different angles. This enables a very precise inspection of height, as well as of possible axial or concentric runout defects, based on several points in two projection planes.
Double height measurement is an ideal solution also for the inspection of parts with notches, incisions or chamfered areas because these characteristics can now be viewed through several angles, thus providing higher precision and reliability. Highest measurement precision is guaranteed through the utilization of telecentric lenses paired with telecentric back lights. Whenever parts have specific features that might not be visible through one single camera angle, for example when parts are not axially symmetrical and a precise contour inspection is demanded, double height measurement delivers far more accurate and reliable inspection results. Outside threads are also often subject to highest quality requirements, and double height measurement has proven to be a great solution.
Double height measurement is also recommended when the precision of the part’s height is not the decisive element but rather it’s outer or inner diameter. This includes cylindrical parts that are inspected in a stand up position, such as pipe or tube sections. When these are uneven in height this will result in an inclination of the parts standing on the glass table and in distorted measurement results for the inner and outer diameters. Ultimately, this leads to an increase of pseudo defects. By implementing double height measurement, the inclination of the parts can be calculated from the two shadow images and then compensated in the measurement of the inner and outer diameters. The high precision of dimensional inspection will, therefore, result in a considerably reduced pseudo waste.

Double height measurement is always tailored to a part’s specific characteristics, keeping the customer’s quality standards in mind. Please contact our sales team to find the right solution for you!
Contact: dominik_uhl [at] nela.de (subject: Double%20Height%20Measurement) (Dominik Uhl, Sales Vision Inspection Systems)